Geopaparazzi 5.1.2 is a mobile app for Android which allows the user to quickly collect information on his or her surrounding area.
This is done with the help of geometries, pictures and notes. Additionally to the notes which are available by default, a person skilled with .json forms may write their own forms for collecting data. In this blog I will cover:
- How do I create custom notes?
- How do I export my projects to QGIS?
This process is remarkably simple!
##Create a new form type for Geopaparazzi:
As the first step we need to create our new Geopaparazzi form.
- Create a new .json file
- Build your form referring to this guide here
- Each form consists of following sections:
- A section
- Various forms belonging to the section
- Save your new form file when you are done.
You may wish to test your .json file with a JSONLint validator before proceeding.
##Adding your form to the app.
Now that you have your form dialog written, we now need to add it to the Geopaparazzi app in order to use it.
- Hook up your Android device to your computer
- Navigate to your geopaparazzi folder (usually saved in your internal storage)
- Find the tags.json file
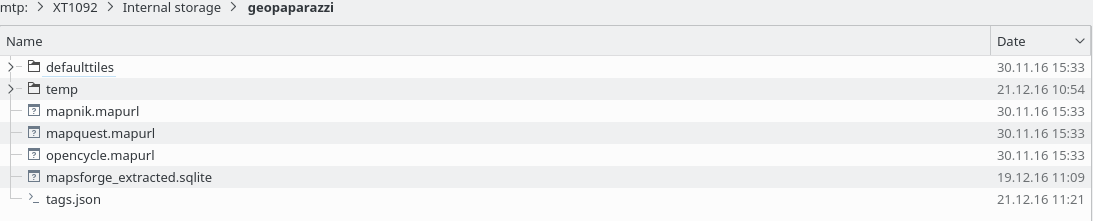
The tags.json file contains all of the forms which the app can use. Simply copy your code into the bottom of the tags.json file. Don’t forget to seperate the previous form section (in my case it was examples) from the new one with a ‘,’.
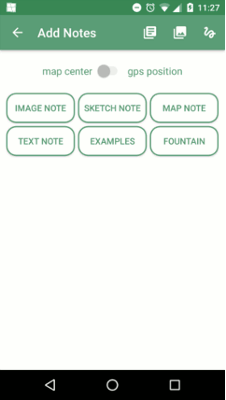
Now your Geopaparazzi app should feature your new custom form. You might have to restart the app for it to display.
##Moving your project to QGIS.
Once you have collected all the information you want, it is time to export your data to QGIS for further examination and use.
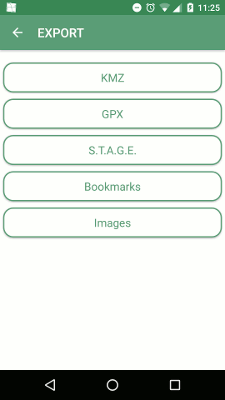
- Export your project as a KMZ file
- Hook up your Android device to your computer
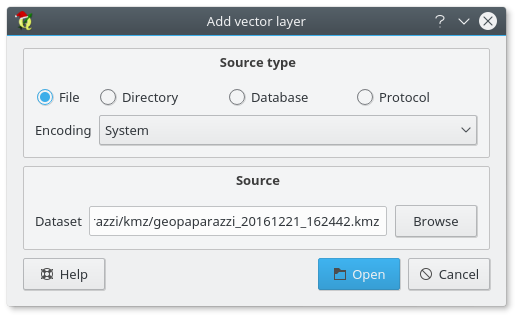
- Start a new QGIS Project
- Select Layer/Add Layer/Add Vector Layer
- When promted for a datasource select your freshly exported KMZ file (You may have to make sure that your browser is searching for all filetypes)
- Make sure your projection matches EPSG:4326
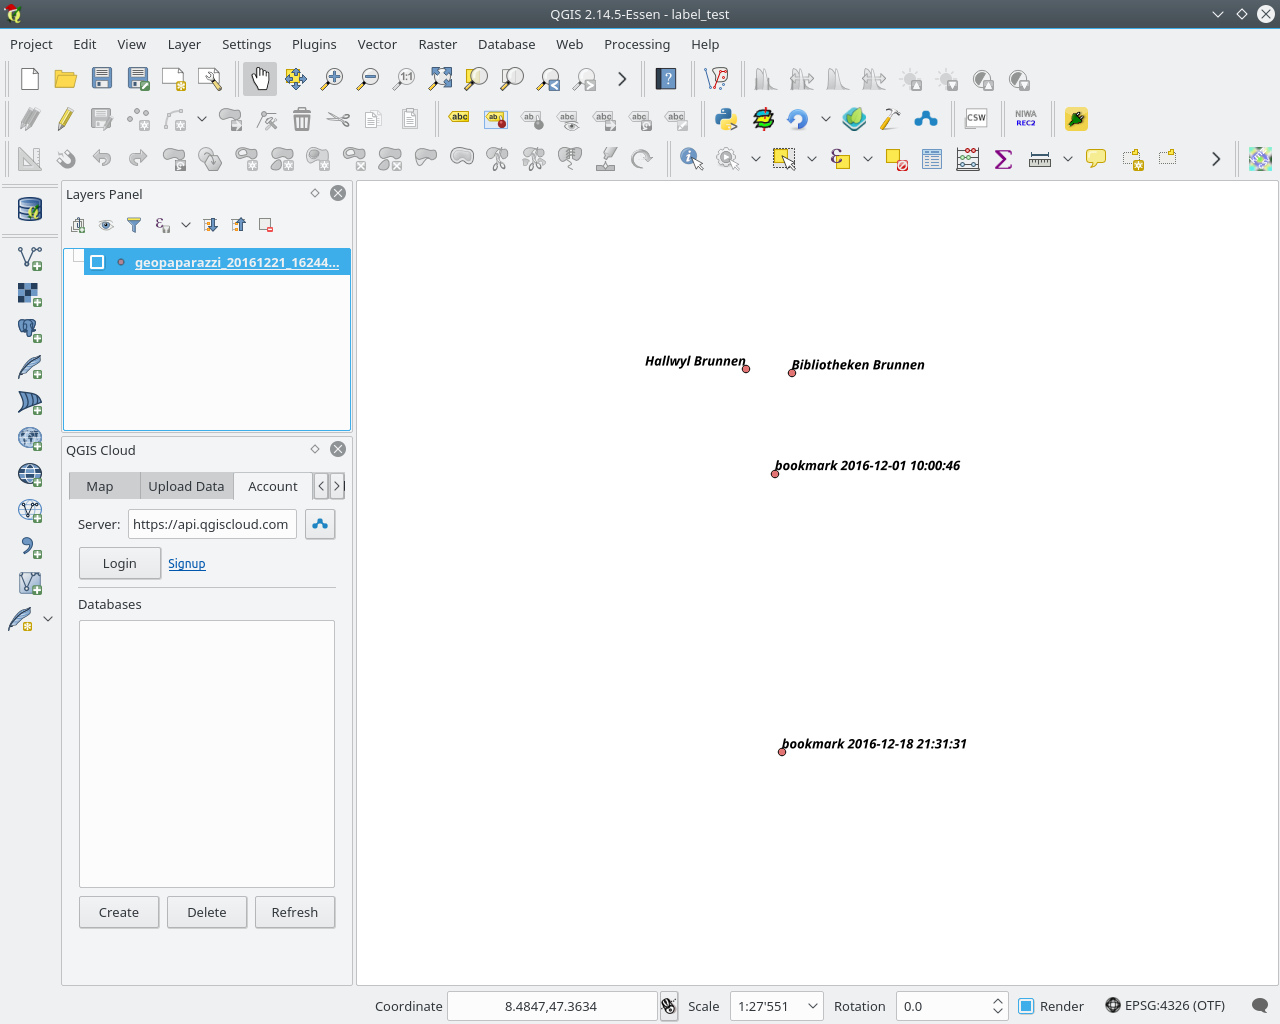
Once this is done you should have a vector layer which displays all of the notes and bookmarks you made on the project. From here you can further style them (e.g. adding labels to your points).
##Geopaparazzi filetypes
Following filetypes are used by the Geopaparazzi app:
- .gpap
- .mbtiles
- .sqlite
The Geopaparazzi project file (.gpap), is the main project file and contains all the important information which is recorded during your work. This is the file which is handled in the Export dialog and can be exported by Geopaparazzi into following formats:
- .KMZ
- .GPX
- a STAGE compatible format
- export all pictures taken as .png
- export all bookmarks for another .gpap file
An important addendum would be that the .KMZ files which are generated during the export appear to actually be .KML files, as they are not compressed into binary.
The .mbtiles files are found in the geopaparazzi/defaulttiles directory and are seen as the background map in the Mapview.
The .sqlite files can be generated via the Import/Default Database menu. They contain three columns: polygon, points and lines. These columns then save the information of the geometry which the user creates in the Mapview.
For more information on the datasets from Geopaparazzi or how one goes about creating a GeoPaparazzi friendly spatialite database please refer to this documentation